Painting Plastic - polypropylene

Problems Painting Bumpers
Colour coding for the DIY person is not without problems
Paint Issues
-
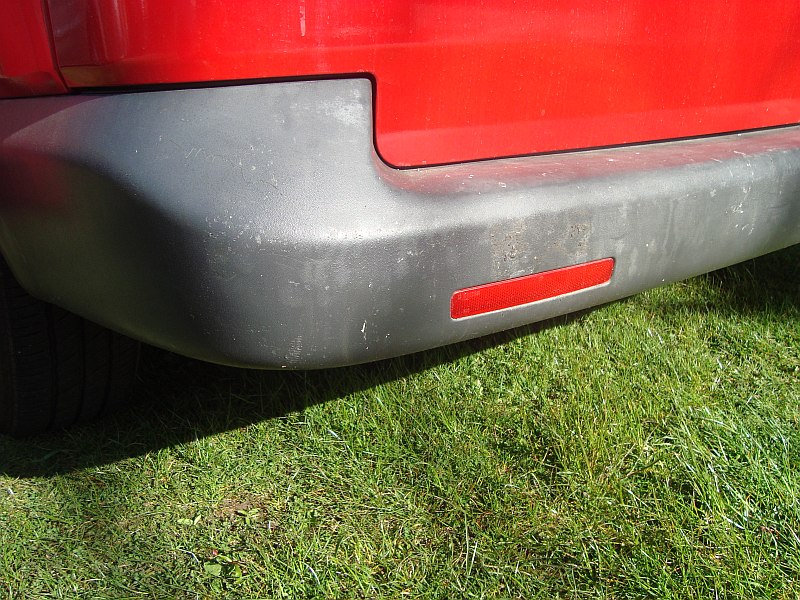 The original black bumpers have seen better days.
They will need to be off the van for about 5 days to sand and paint.
To save the van being off the road for that length of time we found a new smooth rear bumper on ebay, primed and delivered for only £99.00
-
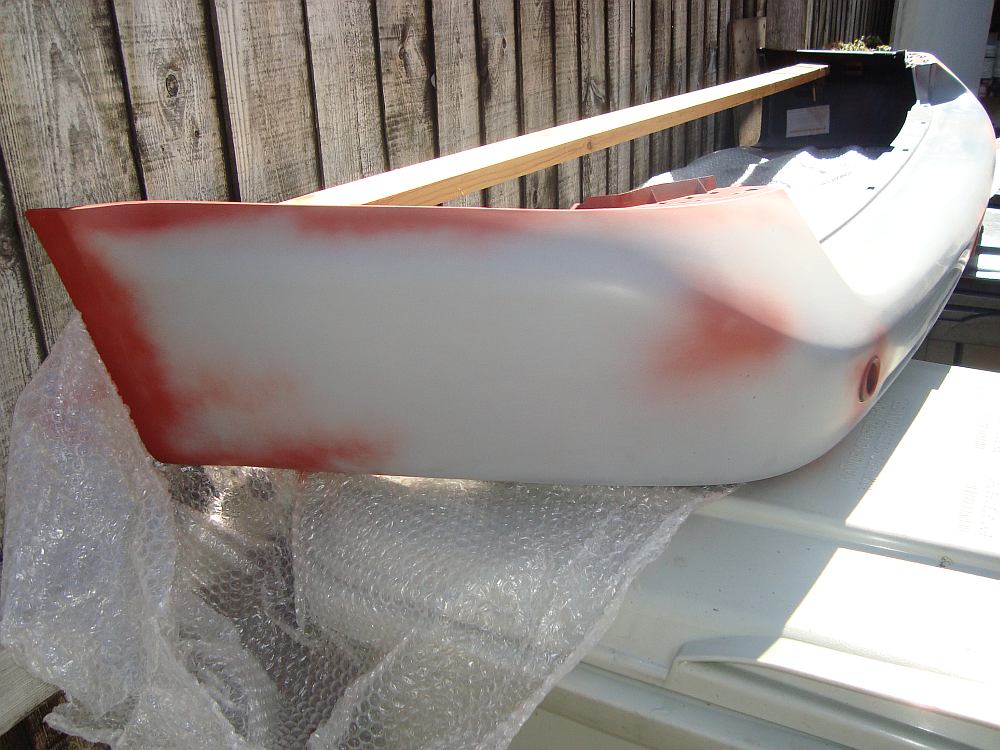 A new smooth bumper saved a lot of time sanding the old one, it arrived with a grey primer ready for a little prep and paint.
Just cleaned up a few small marks and the sharp edges from the moulding, scotch brighted it all with a grey pad ready for first red primer,
1st coat of primer on the black sensor inserts which came fitted on the bumper.
-
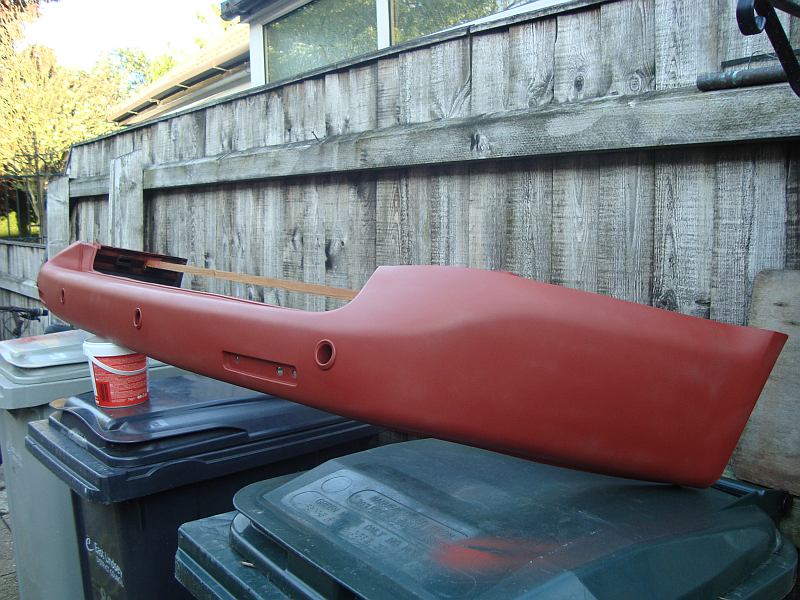 Just given the bumper a first coat of red plastic primer.
Looking good, it will make such a difference to the van.
-
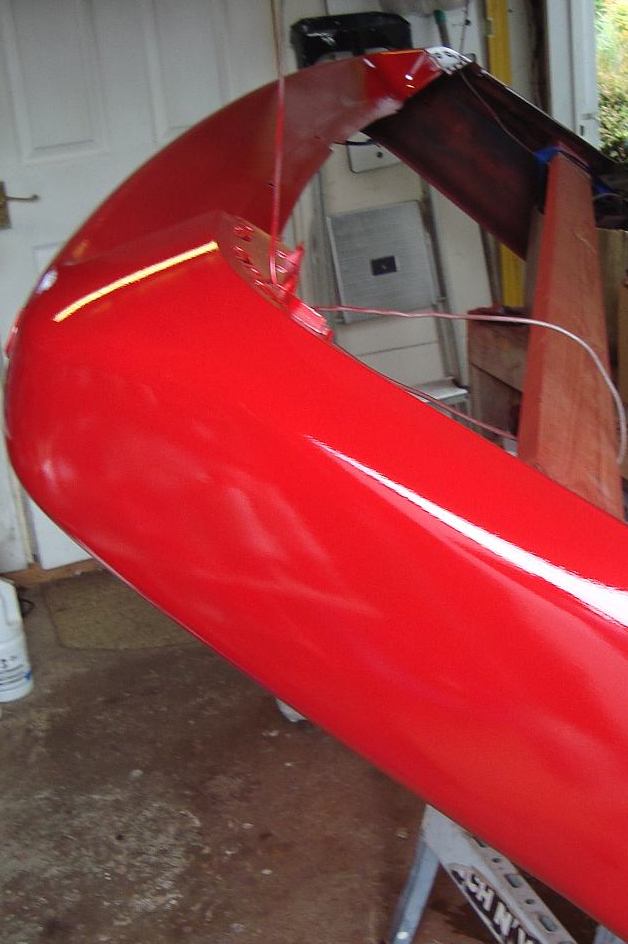 Here is the bumper with two coats of colour, looking good, will leave it a few days before I colour sand it.
-
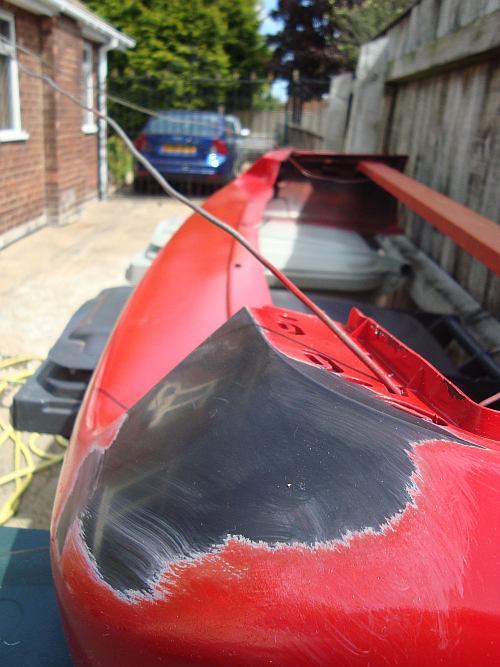 Next day as I took the bumper off the hanger I noticed a small area at the top where the paint flaked off, on closer inspection the factory grey primer had come clean off the plastic. I tested another area and it too came clean off down to the black plastic. The colour was sticking to the primer but the factory applied primer was not sticking to the bumper... very disappointing,
-
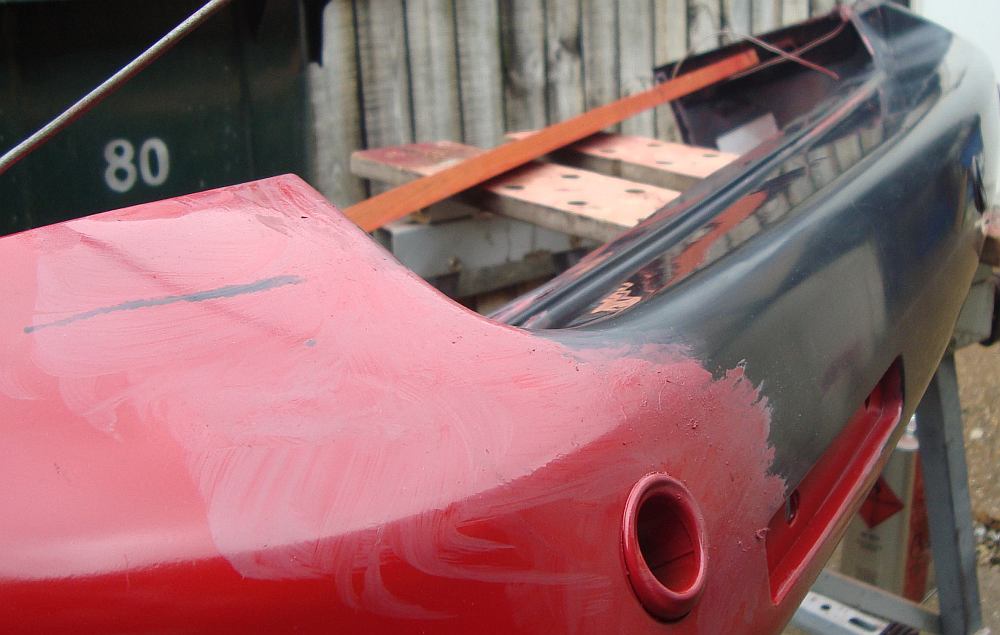 I guess a professional painter would have tested before they applied any colour but I trusted the manufacturer would do the job better than me.
I took short video of some further testing which you can see here https://www.youtube.com/watch?v=0jdDx1i_Cp8
The only option is to remove the paint and their primer down to bare plastic and start again.
Using thinners to remove the paint revealed a glass like finish to the plastic, no wonder the primer didn't stick.
I'll be using grey scotchbright to give a mechanical key and adhesion promoter before the plastic primer.
